


This post is going to share the way I’ve learned to create our yearly family photo book in record speed. As a photographer, I am passionate about people having physical copies of their images that they can touch and experience regularly. How many photos go into the digital abyss of a computer hard drive or phone camera roll, rarely, if ever, to be seen again? Especially after losing my brother unexpectedly, the value of a photo of someone I love is priceless. The photo books I’ve created the last few years are some of my most valuable possessions and what I would grab in a fire as soon as my family was safe.
I began creating photo books in high school of trips I went on. I used a very inexpensive site like Snapfish and to this day love looking back at them, even though the quality leaves something to be desired. As I’ve gotten older, the personal photos I take have become more precious (like of our baby), and my budget has increased. Now, I love creating heirloom quality photo books of our family each year through Artifact Uprising. It’s an amazing way to see how much can happen in a year and remind us of all the happy times and special moments, even when there were lots of challenges. It is definitely an investment each year, but something I plan for and really look forward to making. The cherry on top is I’ve learned some tips and tricks to make the process go as quickly as possible!
Below is the system I’ve refined to create our book in record speed. I will preface this by saying that I create our big yearly photo book using images saved to my computer that I’ve taken with my DSLR camera. For iPhone photos, I use Chatbooks which I can write another post about.
How To Quickly Make a Yearly Family Photo Book:
Prep Your Photos
- Make sure all images from the year are edited and saved to your hard drive.
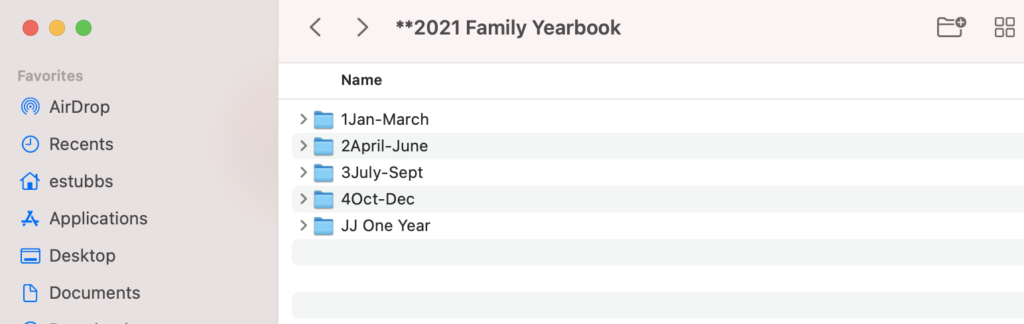
- Create a new folder on your desktop/hard drive called “[Year] Family Yearbook” and favorite it so you can easily find it in your Finder window.
- Within that folder, create four folders for each quarter/season of the year. I named mine “1Jan-March,” “2April-June,” “3July-Sept,” “4Oct-Dec.” The numbers before each set of months will keep the folders in chronological order when listed in Finder. This year, I also had a folder for just my son’s monthly update photos to keep those together.
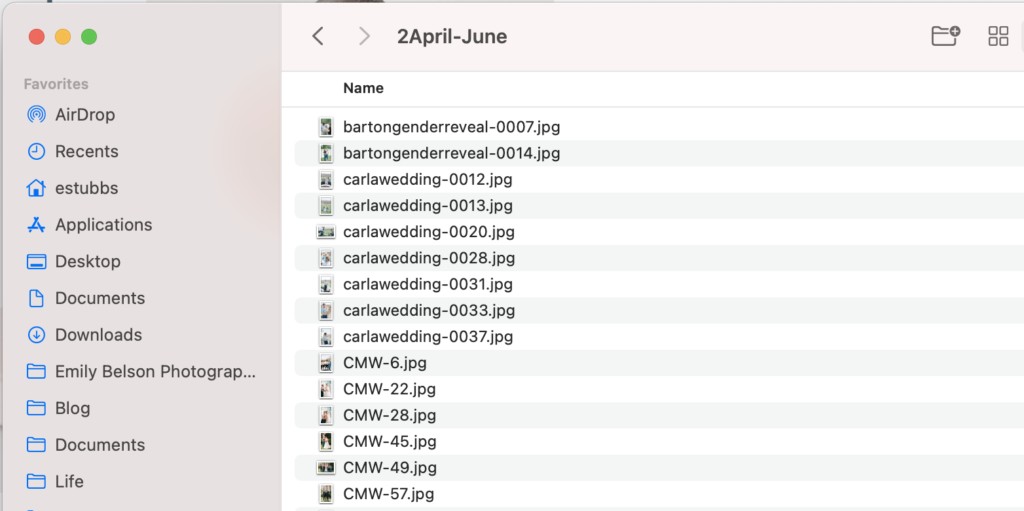
- Begin going through each folder of images from the year on your computer. Select your favorites and copy them into the correct seasonal folder. Only choose the ones you love, but don’t worry about being too particular about this because there will be a natural time to narrow them down further when creating the actual book. I just go with my gut on which pictures to copy over.
- Continue copying images into the seasonal folders until you have filtered through all of the images for the year. Congratulations! That is usually the most time intensive step.
Prep The Photo Book
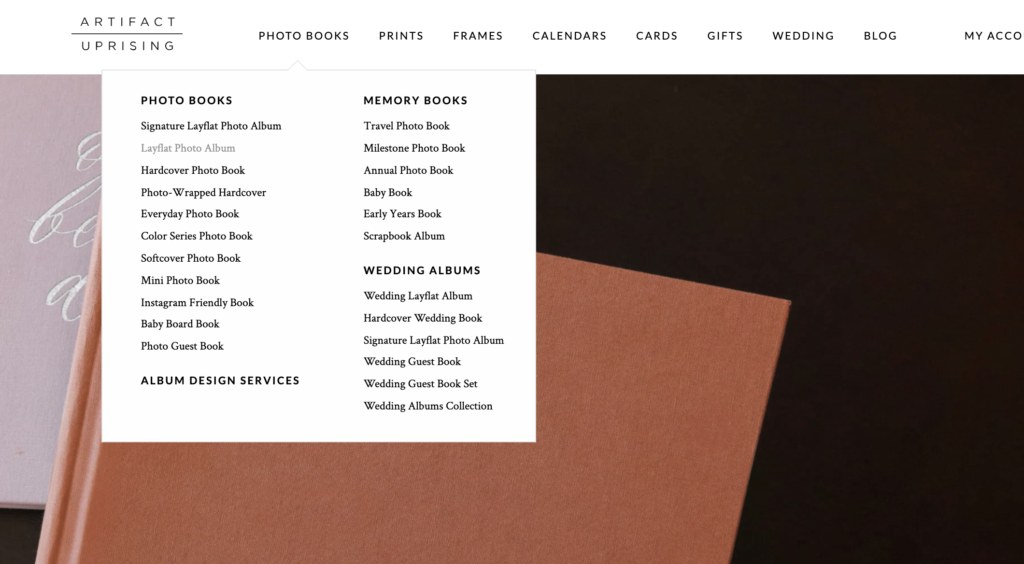
- Open the Artifact Uprising website, create an account if you don’t have one, and select photo books.
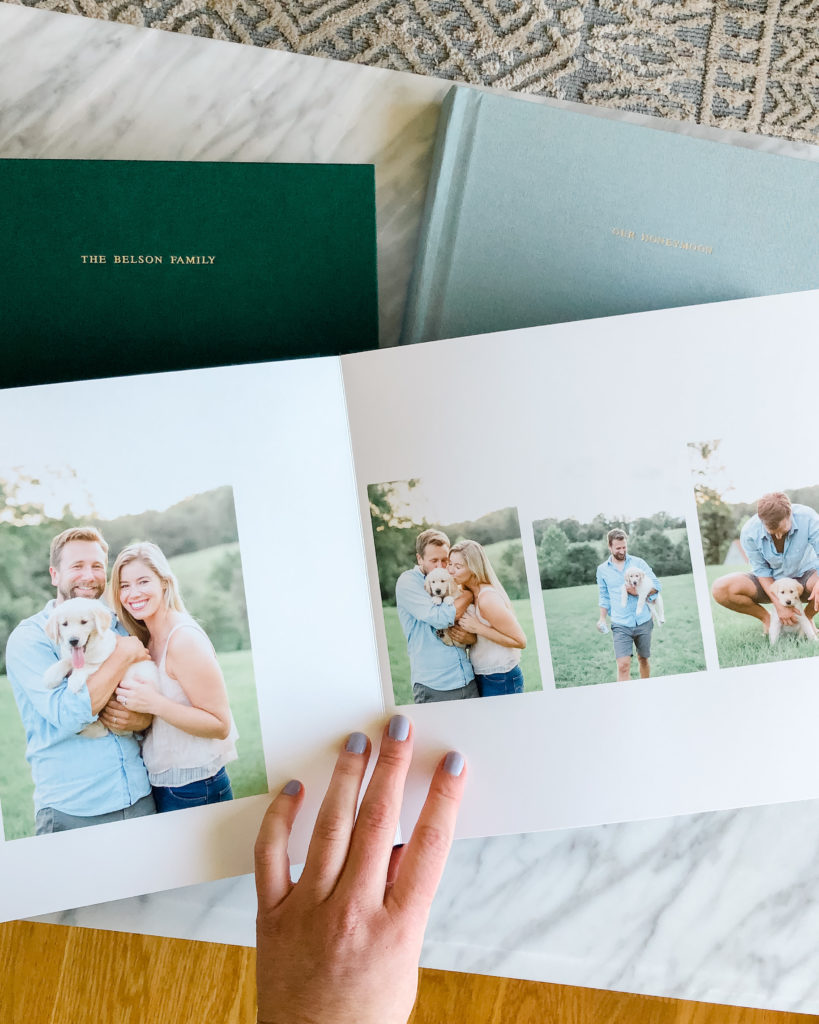
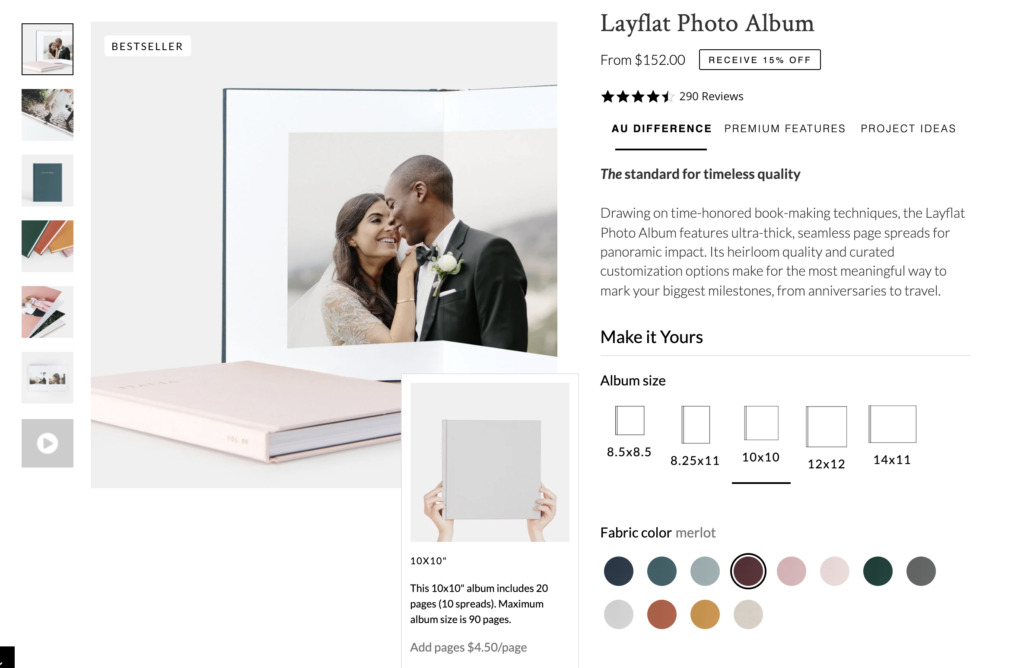
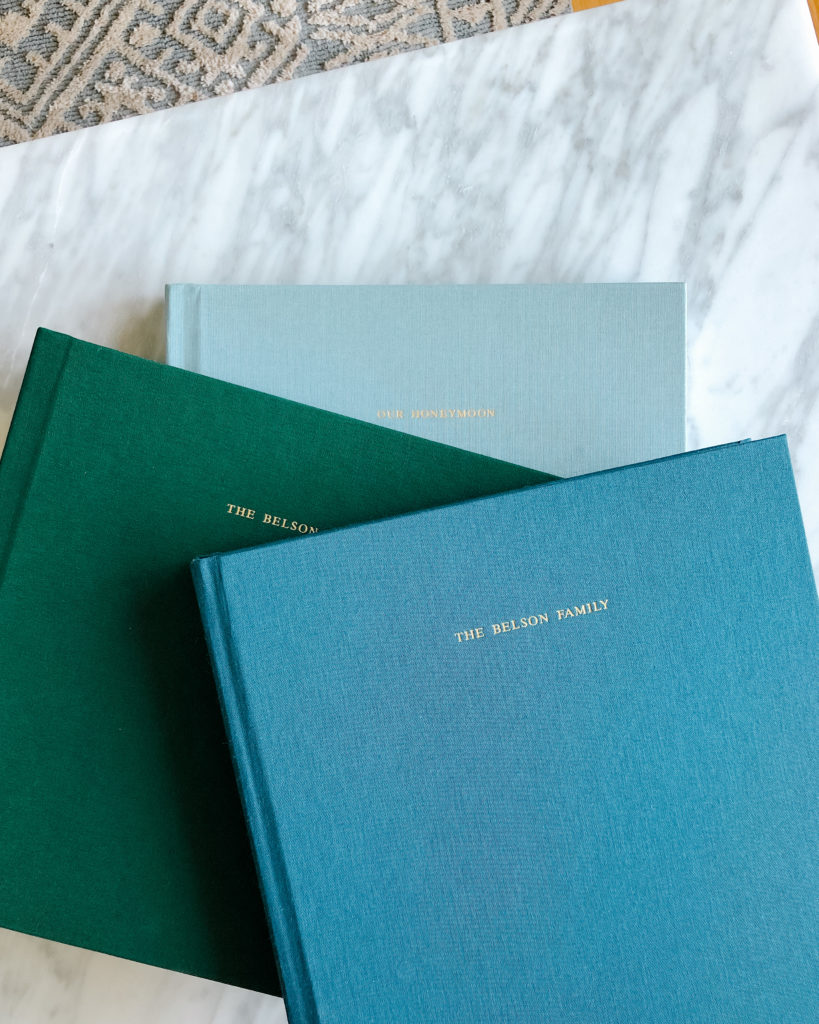
- Choose Layflat Photo Album in size 10″x10″. This book is high quality, comes in beautiful colors, accommodates a ton of pages, and the layflat design makes big spreads look really gorgeous in person. Like I said, it is an investment, but I think it is worth it as the one big heirloom record of our year.
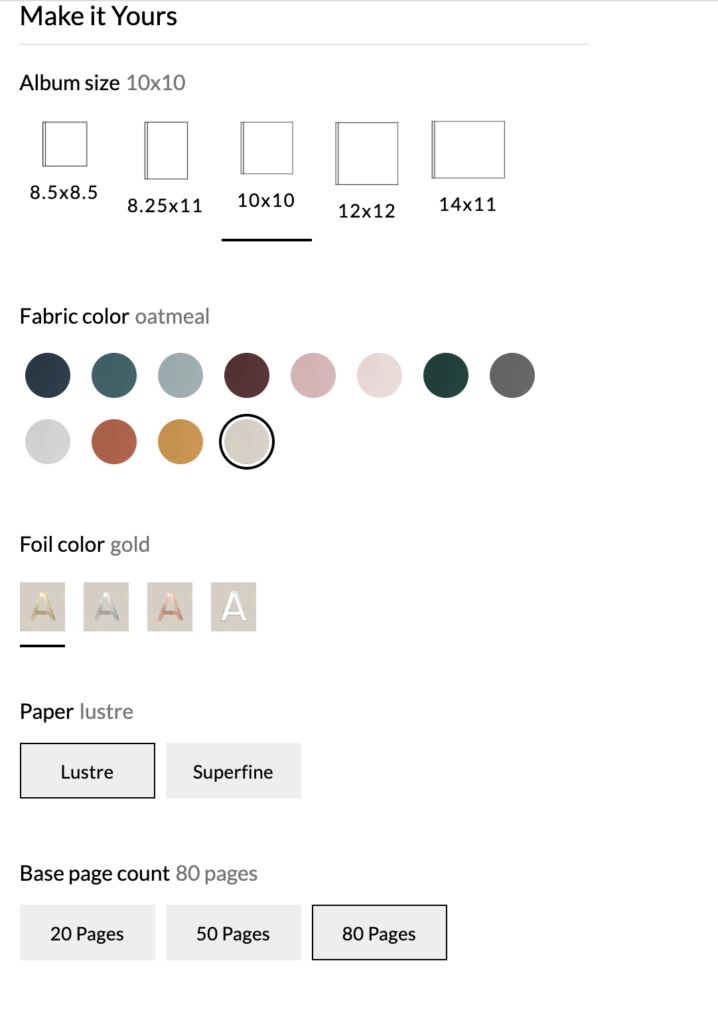
- Choose your fabric cover color, foil color, paper type (I choose lustre), and base page count. I recommend choosing the highest number of pages because you can easily delete any you don’t use once you’ve finished designing your book. Then click “Make Your Album.”
- I name the project at the top of the page so I can go back and check what settings I used year to year.
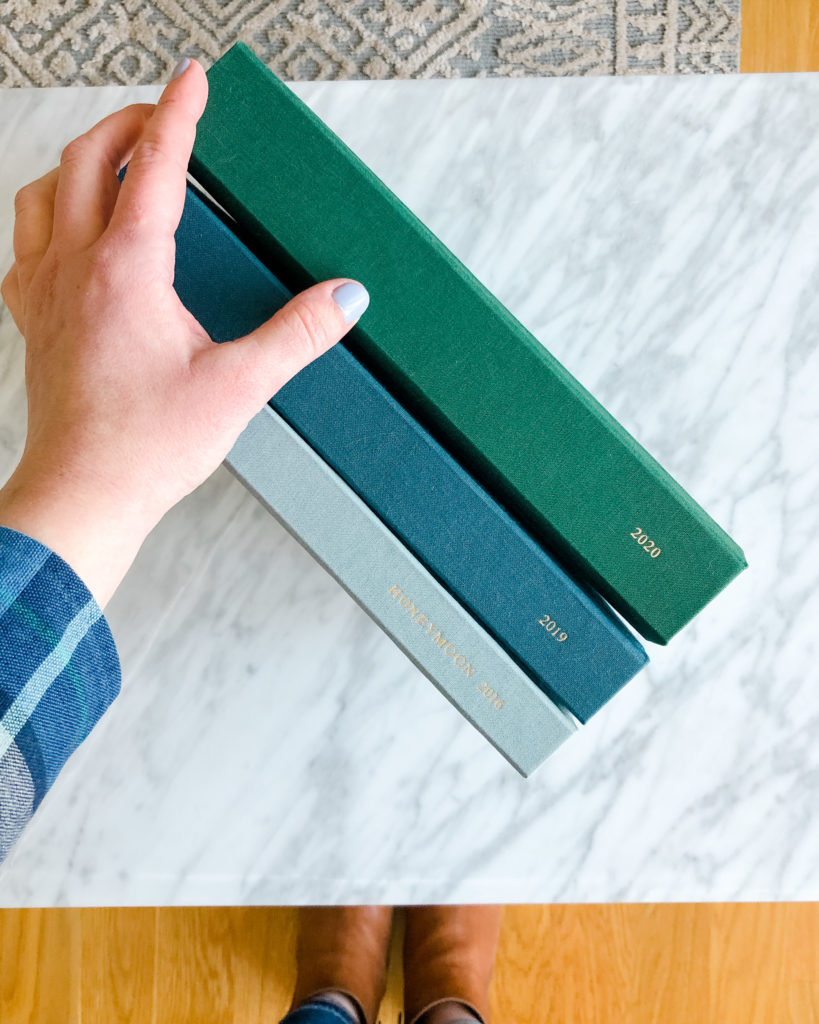
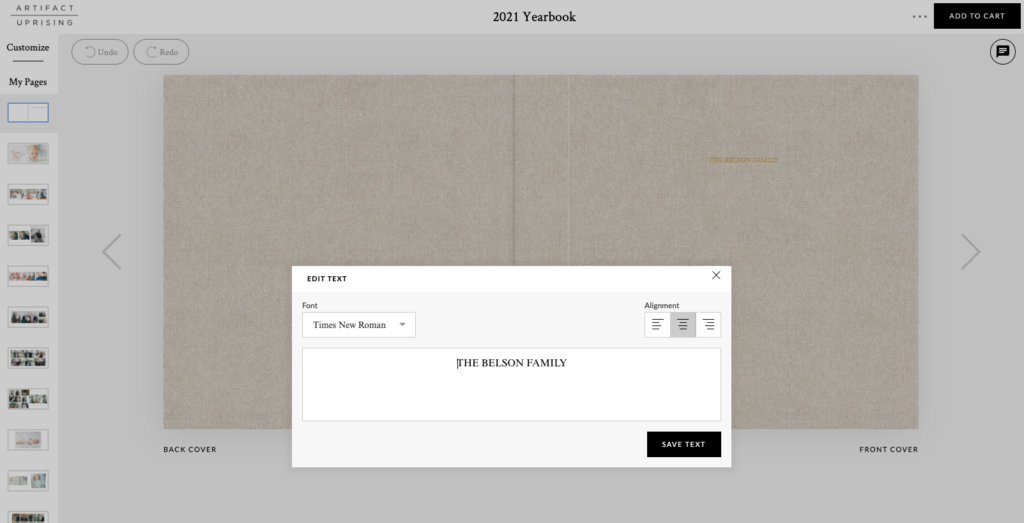
- Add text to the spine of the book (I put the year) and cover of the book (I keep it simple with “The Belson Family”).
Design Your Book
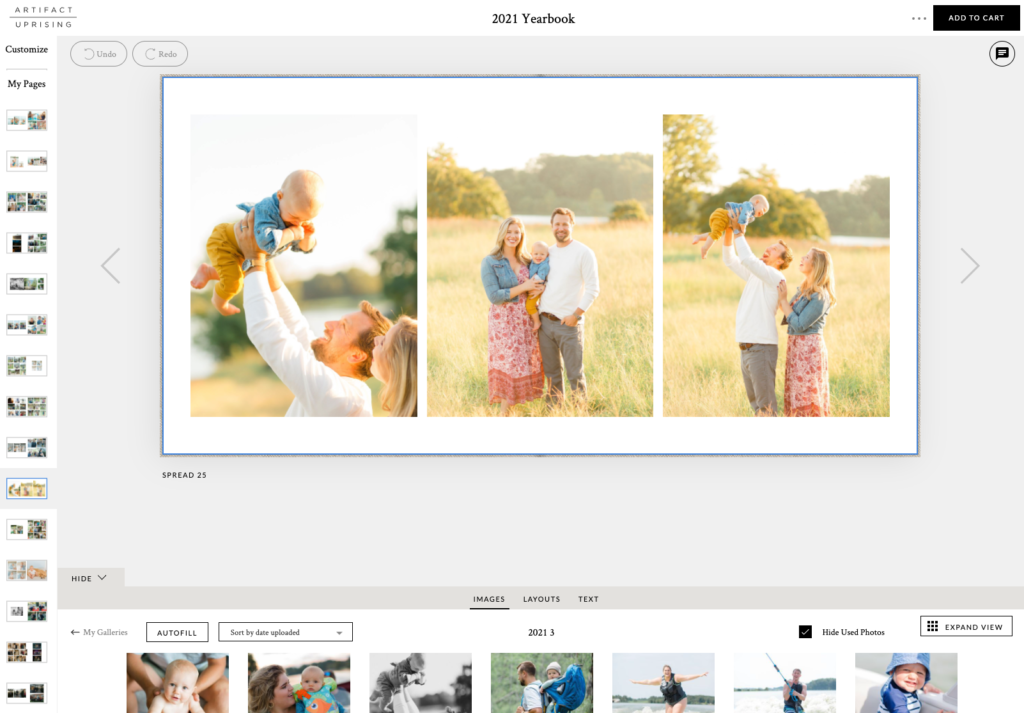
- Your book is ready to go and now you can start designing! Step one is to add images to a gallery. Here is where the value of the seasonal folders comes into play. I don’t care about our images being in exact chronological order. To me, if they are mostly in the correct order, it is totally fine! Click “Add Photos” and select all of the images in your “1Jan-March” folder to upload.
- Once they have uploaded, I set them to sort by “date uploaded, oldest first.” This puts them in the right order for me. Once they have all uploaded, you can look through the images to decide which layout fits the set of images best. This is why it isn’t necessary to be super specific in the beginning when picking photos- now you can filter through them easily and decide which to use based on which layouts look nice in the book. For example, if you pulled 5 images from an event, but a layout using 4 images looks nice, you just use your favorite 4.
- I trade off looking at layouts and my images to design each page as I go. Because you’re only looking at pictures from January through March, it is a lot less overwhelming than an entire year’s worth of photos at once. As you drag and drop images into the book, be sure to have “Hide Used Photos” checked on the righthand side so you don’t use the same photo more than once.
- Continue filling the book until you’ve used all of the pictures you want to from that gallery. Again, don’t overthink it too much. Done is better than perfect in this situation!
- Next, you’ll upload your next folder (“2April-June”) of photos. This is important- be sure to create a NEW gallery for those images (I named mine “2021 2”). Do not add them to the first gallery you created. The point is that you are only working with a reasonable number of images as you design. It makes a huge difference in seeing your progress and staying organized when you get interrupted, believe me!
- Continue designing and uploading until you have used all of the images you wish to.
- On the last page, I use a full text layout and write a letter to ourselves about our year. I look through my calendar from January through December and write about all the important, funny, challenging, and special moments that we want to remember. I write the initial draft in a Word document because I have had issues with it not saving on the website in the past. I have my husband review it to make sure I didn’t miss anything and for grammar and then I copy it into the book and save the whole thing.
- Review the entire book one more time, make any last changes, and add it to your cart! You’re done!!
- I always wait until Artifact Uprising is running some sort of sale before ordering.
I know this might seem like a lot of steps, but I promise it goes quickly. Not overthinking your image selection and using the seasonal folders are a game changer! I hope this was helpful and inspires you to create your own physical photo book to remember the amazing, ordinary, sweet, and special moments of your past year.
Video Tutorial
This post was all about quickly creating a yearly family photo book.
You may also like: 5 Easy Steps to Plan Cohesive Family Photo Outfits

Be the first to comment